I want to look back five mistakes on desktop CNC router I made and how to avoid them.
Share them with you and some resources that can help you get started which can saving your time and money.
This post is all about building whether that’s building a piece of furniture, a woodworking business or confidence for your next DIY project.
Mistake 1, Running Your Spindle too Fast
I think the most common mistake that people make when first getting into desktop CNC router is running your spindle too fast. I know when I first started out. I was like to turn the machine the faster the better.
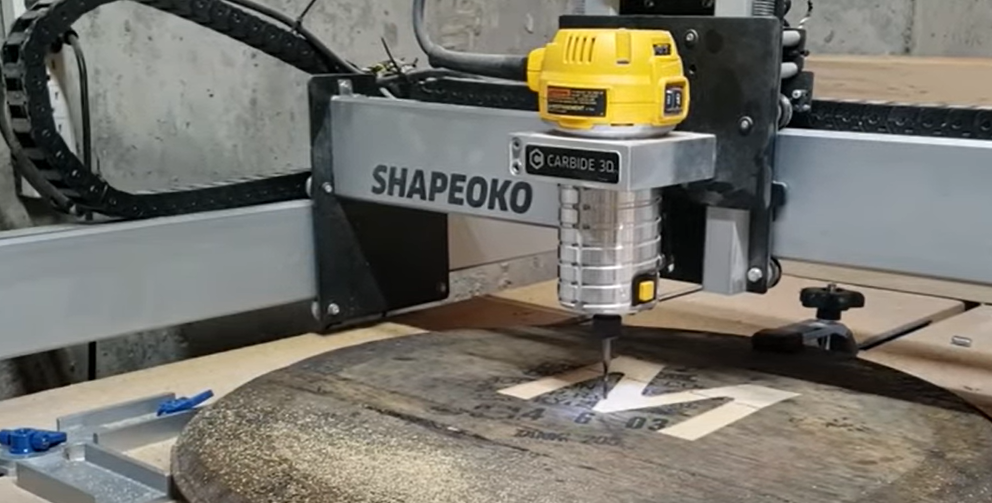
My first CNC, Mini 6090 desktop CNC Router, uses a palm router as the spindle. So setting six is roughly 28 000 RPMs setting, I think is rated at like 12,000 rpms.

But when I was first starting out, I had to wear ear protection in two stories up in my house when the table CNC router was running.
And I didn’t know any different. Because I had never been around a CNC. I’ve never seen anybody run A CNC router before. So thinking that the faster the better.
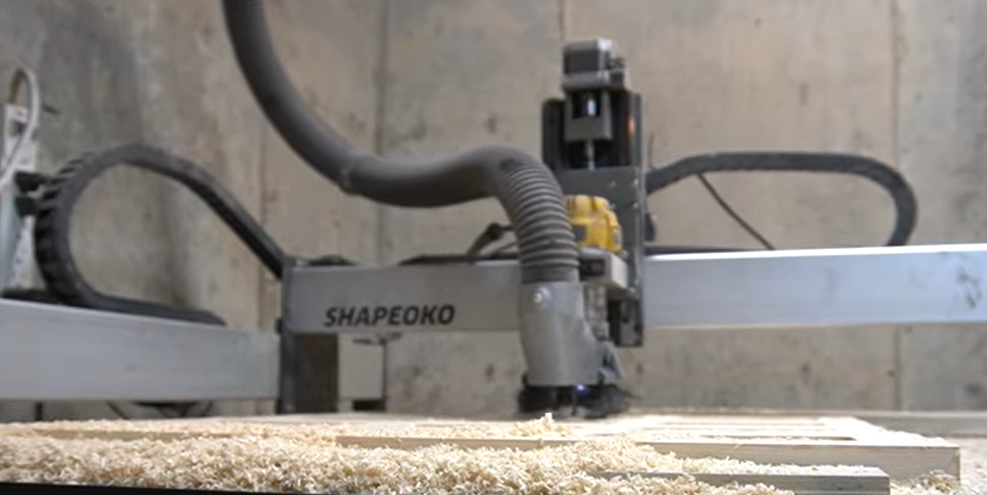
Now I cut primarily wood with my 6090 mini CNC router. Wood is really forgiving. What you’re going for is you want to be making wood chips like this, and you don’t want to be making saw dust if you’re making chips and not dust, then you know your speeds are dialed in.
Some signs that you’re running your spindle speed too fast is burning your work piece. Either need to increase your feed rate or you need to slow down your rpms.
The spindles and tools of every machine are different. If you’re running a v-bit like this one and you’re running it at 28, 000 rpms, that is way too fast .

In general, the larger the cutter, the slower the rpms. So I found a great resource. It is carbide 3d’s wiki page – that has all kind every material the you can imagine. And feed rates for all those materials, I’ll link it down in the description that is a great resource, and then you can tweak your rates once you get comfortable with those starting rates.
Mistake 2, Work Holding
No.2 on this list is work holding. There are a ton of options when it comes to work holding. I stumbled through all the different ones and not knowing what was gon na work in what scenario, and I spent a lot of time, but mostly a lot of money on clamping systems that I no longer use.

So what I started out with three years ago were inline clamps. These work great and for the most part, held the work piece in place depending on what I was doing. But I broke several bits running them into the clamps because they stick above your work piece. So that was something I didn’t want to deal with.
So I progressed to some different things and eventually I landed on for a piece of wood where I was cutting out a lot of small pieces. I actually screw it to my work piece just with a screw right through the face of the wood and that way, nothing’s sticking above the surface for me to hit.
Mistake 3, What Do I Make?
I’ve got my machine now. What do I do now ? If you’re anything like me, I bought my machine with the intention of making money with it.
I don’t want to spend a lot of time on a product developing a product if no one’s going to buy it. So I think it’s really easy to analyze it to the point where you become paralyzed.
You don’t know where to start and what to do so.
My advice is just to start creating things that you are interested in. I’ve also created a step-by-step guide to help solve this exact problem. Now this guide will walk you through on how to create a product to sell using your CNC. It starts from the very basic to all the way bringing it to the market and where to sell it, how to sell it. Pricing ideas – and there are a lot of pro tips along the way.
Mistake 4, End Mill Selection
I made that wasted a lot of time and a lot of money was my end mill selection. Just starting out with my desktop CNC machine, I didn’t know what a v-bit was, a down-cut bit was, where and how to use those,or what size there are.
Hundreds probably if not thousands, of different options out there when it comes to bits and mil end. A bit comes in different angles, which basically translate to different amount of detail when it comes to sign making and making letters.That’s typically, where v bits are used.
Quarter inch down cut, up cut bits are used for contour cuts, a lot which is to cut out the outside or to clear material.
DownCut Bit
And a down cut bit does just that. It pushes the material as it’s cutting it. It’s ejecting the chips and pushing everything downward, which gives your top surface a clean finish.
Upcut Bit
An upcut bit is doing the exact opposite as it’s cutting ejecting those chips and pulling all the wood fibers upwards. So it gives you a clean bottom cut, but it’ll leave you a frayed top surface, depending on what material you’re using, especially in soft woods.
UpDown Bits
A combination updown bit does both of those well at the tip of the end mill. There is a down cut portion and the rest of it is an upcut portion. I wasted a lot of money buying bits that I necessarily didn’t need or don’t use anymore.
And I really reduce everything down to three different types of bits. It’s the up or down cut bits, the v bit and bowling tray bit .With those three bits, I can pretty much accomplish 99% of what I do.

Mistake 5, Dust Collection
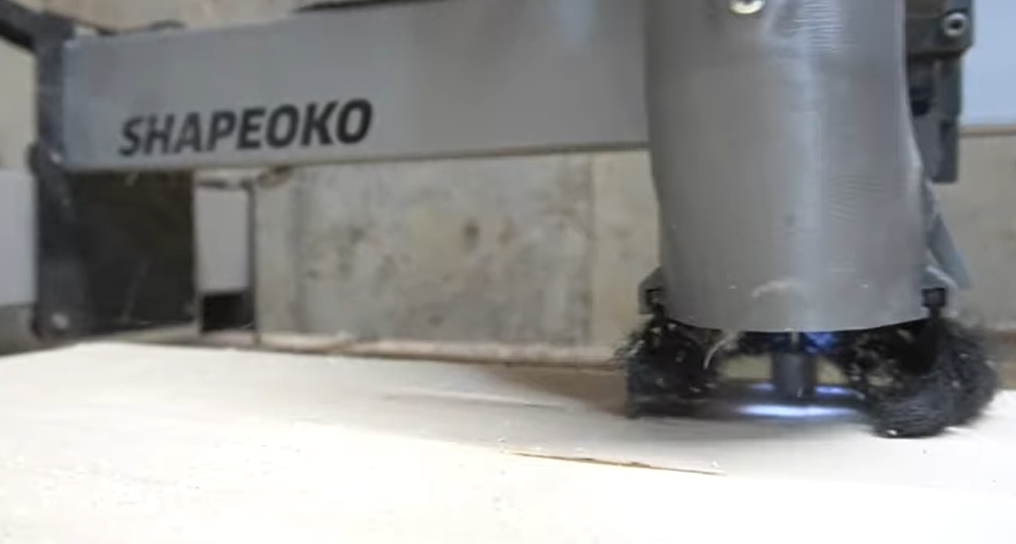
I made the mistake of not setting up dust collection to my CNC machining for about the first year of use. It made an absolute mess in my shop and it was one of those things where I didn’t think it was necessary. I didn’t know the benefit, which was just naive on my part. and I didn’t prioritize it .
When I did get it hooked up,I was like why didn’t I do this sooner. I know you’ve invested a lot of money into a desktop CNC router or you’re thinking about doing it, but don’t overlook dust collection.
You don’t have to go out and buy a big dust collector. You can buy a shop vac that hook it into the CNC and that’ll work just as well.
So my hope is that those five mistakes highlight that I made when starting out and they save your time and money.

